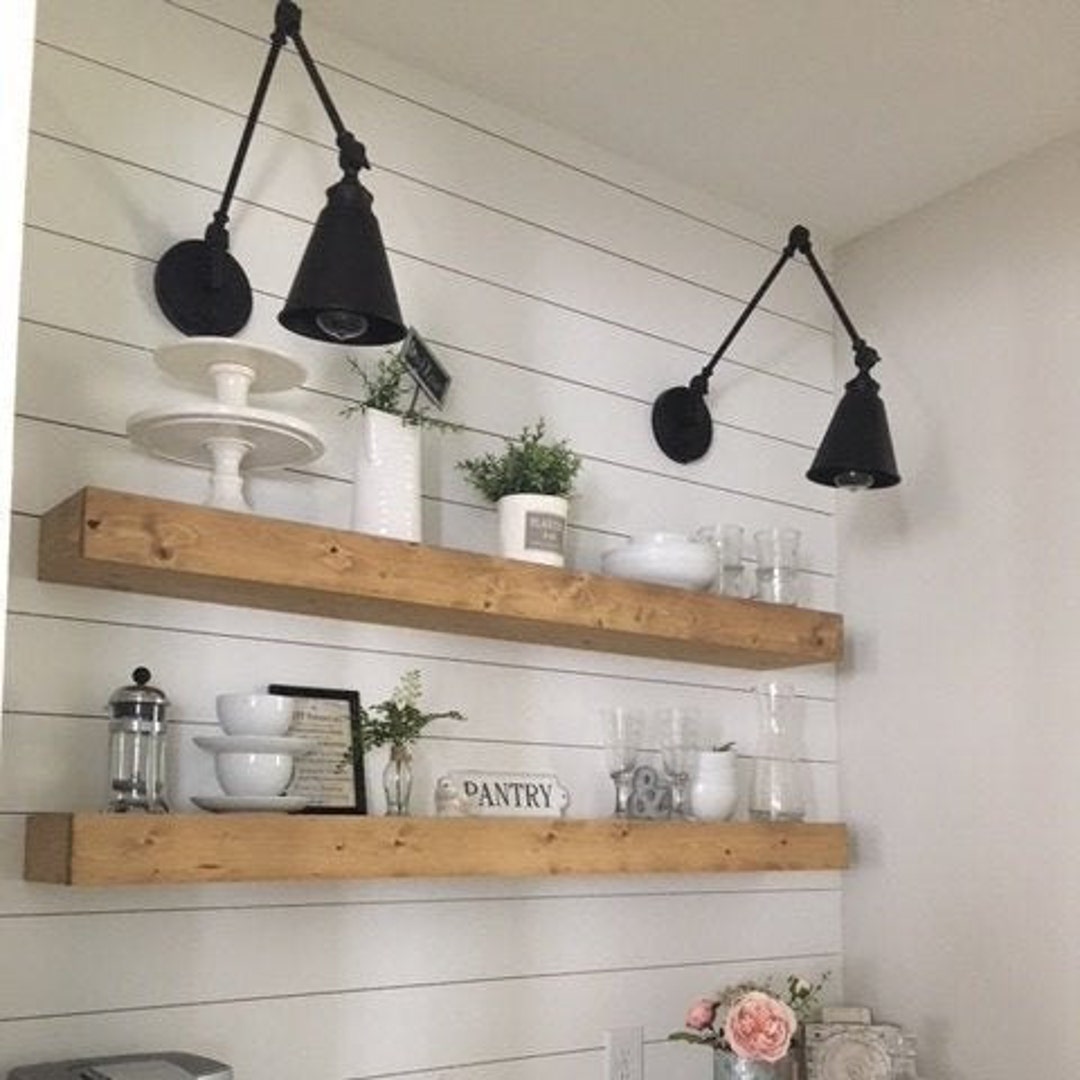
Easy Wood Floating Shelves for Rental-Friendly Storage
In the realm of interior design, storage solutions are paramount, especially for renters who often face limitations when it comes to permanent modifications. Floating shelves present a stylish and practical answer, offering ample storage space without the need for drilling into walls.
This comprehensive guide will delve into the art of creating easy wood floating shelves, focusing on rental-friendly techniques that minimize damage to the walls. From material selection to installation tips, this article provides step-by-step instructions and valuable insights for maximizing storage and enhancing your living space.
Material Selection: Choosing the Right Wood for Your Floating Shelves
The choice of wood is crucial for the aesthetic and structural integrity of your floating shelves. Here are some popular options:
Pine
Pine is a softwood that is readily available and affordable. Its light color and knotty grain create a rustic charm. However, pine is relatively soft and prone to scratches, making it less suitable for heavy items.
Maple
Maple is a hardwood with a beautiful, fine grain and a light to medium brown color. It is strong and durable, making it ideal for shelves that will support heavier objects.
Cherry
Cherry is a hardwood known for its rich, reddish-brown color that deepens with age. It has a straight grain and is relatively hard, making it a good choice for both durability and aesthetics.
Walnut
Walnut is a luxurious hardwood with a dark brown to chocolate-brown color and distinctive grain patterns. It is known for its strength and durability, as well as its elegant appearance.
Consider the intended use of your shelves and the weight they will need to support when selecting the right wood.
Rental-Friendly Installation: Avoiding Damage to the Walls
As a renter, it's important to prioritize wall protection. Here are rental-friendly methods for installing your floating shelves:
Command Strips
Command strips are a popular choice for hanging light items, including small floating shelves. These strips offer strong adhesion but can be removed without damaging the walls. Ensure the strips are rated for the weight of your shelves and the items you plan to store on them.
Adhesive Shelf Supports
Adhesive shelf supports are specifically designed for mounting floating shelves. They come in various sizes and weights, making them suitable for different shelf thicknesses and loads. These supports provide a secure hold while allowing for easy removal.
Heavy-Duty Hooks
Heavy-duty hooks can be used for larger floating shelves or shelves that will support heavier objects. These hooks are designed to withstand significant weight and can be removed without leaving noticeable marks on the walls. Ensure the hooks are rated for the weight they will be carrying.
Step-by-Step Guide to Building Easy Wood Floating Shelves
Materials
Instructions
Tips for Maximizing Storage and Aesthetics
Here are some helpful tips for optimizing your floating shelves for both storage and visual appeal:
Conclusion
Building easy wood floating shelves for rental-friendly storage offers a practical and stylish solution to enhance your living space. By following the step-by-step guide and utilizing rental-friendly installation methods, you can create beautiful and functional shelves without damaging the walls. With thoughtful planning and creative styling, your DIY floating shelves will serve as a testament to your ingenuity and add a touch of elegance to your home.
0 comments:
Post a Comment
Note: Only a member of this blog may post a comment.